When I first learned to crochet, I thought making a hat would be super easy. However, almost every pattern I tried didn't come out how it should. So what's a girl to do? Come up with her own! This pattern is a hodge podge of about a dozen different patterns that I put together to come up with an incredibly easy stocking cap pattern that only takes a couple hours to make. I've never written an exact crochet pattern before, so if you try this out and have problems or something isn't right, please let me know in the comments!
 |
| The finished product! |
I used 2 strands of worsted weight yarn held together throughout. For this hat I used red and turquoise colored yarn. I used a size K (6.5mm) crochet hook. The Ch 2 (turning chains) do NOT count as a stitch in this pattern.
Ch 12
Row 1: DC in 3rd chain from hook and all the way to the end. Ch 2. Turn. (10)
Row 2 - 25: DC in each stitch across. Ch 2. Turn.
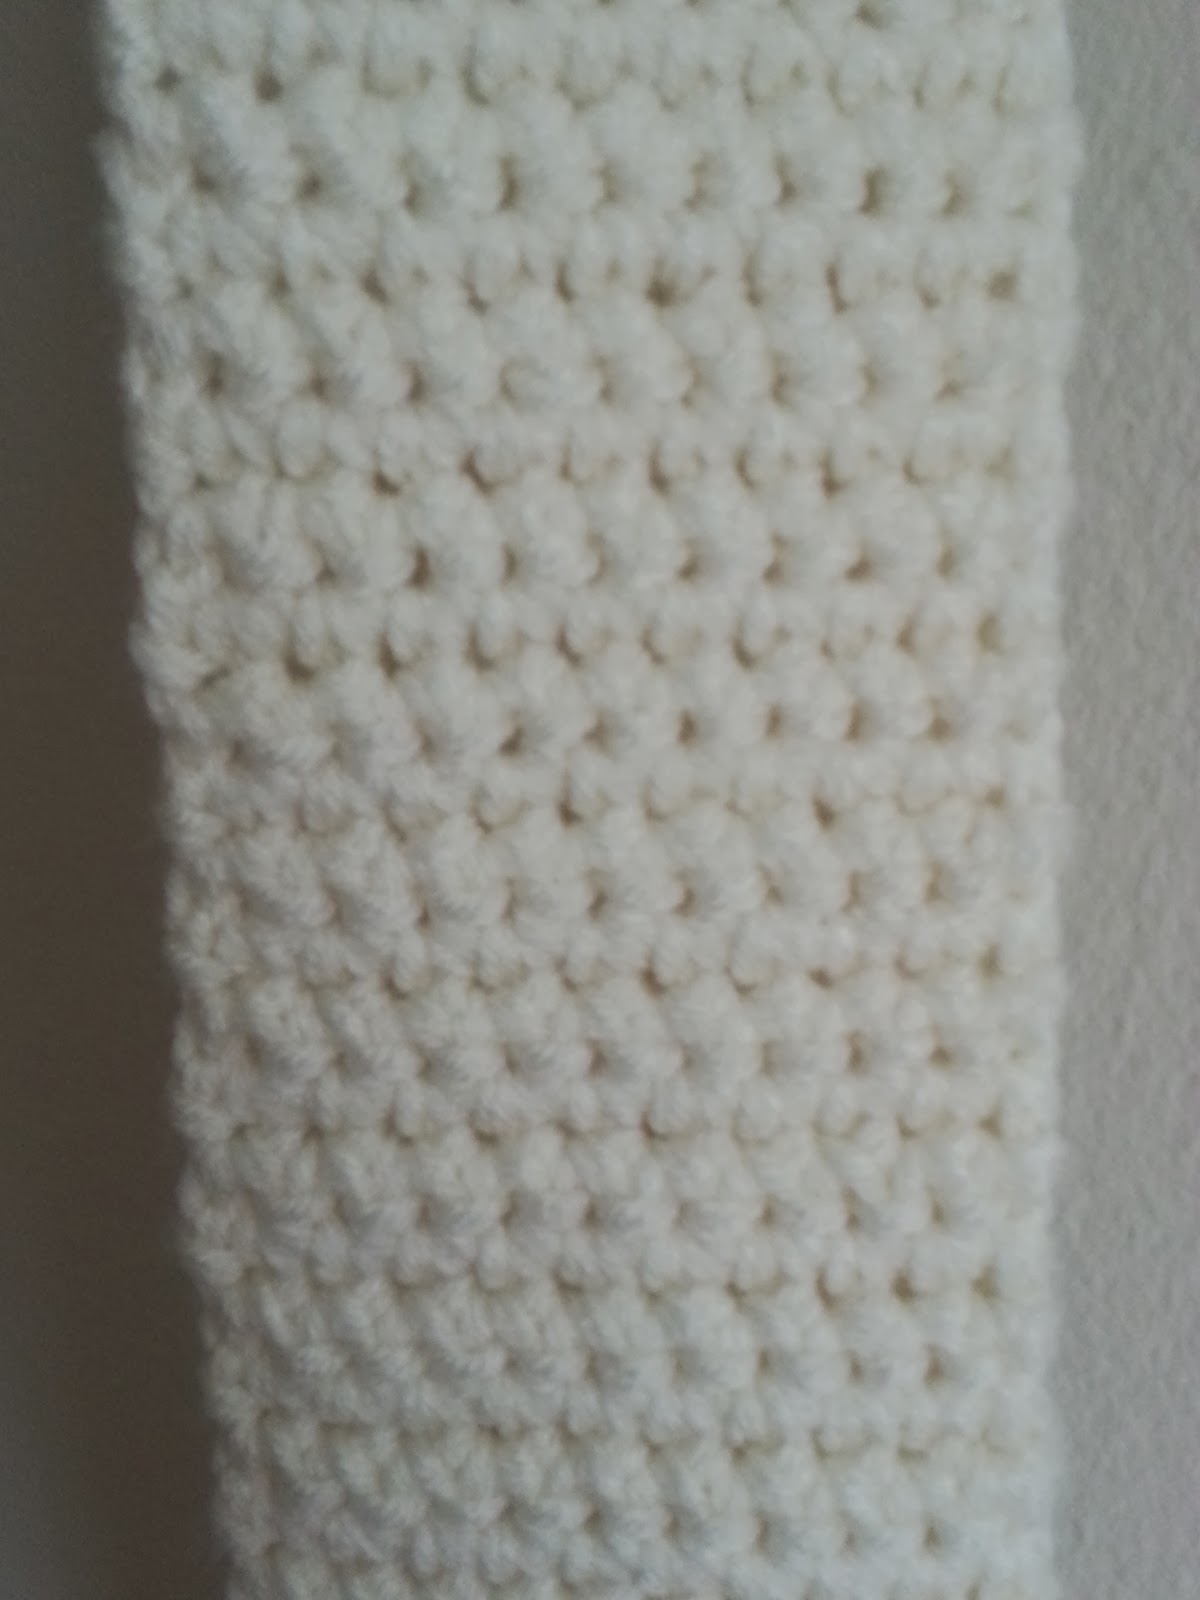
When you're done with row 25, you will have what might look like the beginning of a scarf:

We are going to join the two ends of this together with a slip stitch and it will become the "brim" of the hat. Bring the two ends together and slip stitch in each DC and the beginning chain to form a circle. Then Ch 2.
From here to the end of the pattern I'm going to refer to each "row" as a round as we are now crocheting the top of the hat.
Round 1: DC 49 stitches evenly around the edge of the brim. Since there aren't nice, even stitches for you to complete the DC, kind of eye it and make your best judgment. However, you need to have 49 DC when you are done with this first round. Join to the top of your first DC with a sl st and Ch 2.
Round 2: DC in the same stitch you slip stitched to. 4 DC. *DC2TOG. 5 DC. DC2TOG. 5 DC. Repeat from *, ending with DC2TOG until you've made your way around the edge and join to the top of your first DC with a sl st and Ch 2.
Round 3: DC in the same stitch you slip stitched to. 3 DC. *DC2TOG. 4DC. DC2TOG. 4DC.* Repeat from *, ending with DC2TOG and join to the top of your first DC with a sl st and Ch 2.
Round 4: DC in the same stitch you slip stitched to. 2 DC. *DC2TOG. 3 DC. DC2TOG. 3 DC.* Repeat from *, ending with DC2TOG and join to the top of your first DC with a sl st and Ch 2.
Round 5: DC in the same stitch you slip stitched to. 1 DC. *DC2TOG. 2 DC. DC2TOG. 2 DC.* Repeat from *, ending with DC2TOG and join to the top of your first DC with a sl st and Ch 2.
Round 6: DC in the same stitch you slip stitched to. *DC2TOG, 1 DC, DC2TOG, 1 DC.* Repeat from *, ending with a DC2TOG and join to the top of your first DC with a sl st. and Ch 2.
Round 7: DC2TOG around and join with a sl st in your first DC2TOG stitch. Finish off and weave in ends.
Now, you may notice that when you've completed Round 7, there is a small hole at the top of the hat that your finger can fit through (see picture below). You can either leave it like this - or, if you're like me, you'll want to close it off. I simply slip stitch to a DC that is across from where you've ended and then finish off (the next picture below).
 |
| Finger hole. |
 |
| I've slip stitched across to close the hole (marked by my beautiful yellow arrow). |
When I weave in my ends I pull them inside the hat and turn the hat inside out so that way it doesn't show. I then weave in the end from the very beginning when I first started my chain.
More of the finished product:
I've made these hats to fit a "normal" sized head so you may need to make adjustments if you need something larger or smaller. I haven't made any adjustments to my pattern, because I apparently don't have any friends with larger or smaller heads than me, but I can't imagine it would be too difficult.
I hope you all enjoy this pattern and again, if you have difficulties or if something is wrong, please let me know in the comments section.
This is my first pattern and feel free to use it to make gifts or items to sell, but please link back to this page if you do decide to sell any items. Thank you!


